 Click to call

Painting Varnished Wood
As with all painting projects, your results will only be as good as your preparation work; applying the paint is not the most important part of the process! Varnished wood is no different, and you don't necessarily need to treat your wood with a varnish stripper! Here's what you need to know to get great results when painting varnished wood.
Before You Get Started
As with all household projects, keep safety precautions in mind to avoid injuries or accidental damage to the home. When using cleaning solutions and chemicals, always wear proper eye protection and gloves. It's also essential to wear protective goggles when working with power tools such as orbital sanders and to make sure kids and pets stay clear of all work areas.
Step 1: Sanding
In most cases, a random orbital sander will make quick work of the surface prep. Use 180-grit sandpaper and work the wood until the varnish is no longer glossy. For corners and other tight areas, use a sanding sponge or a bit of sandpaper. It is not necessary to remove all traces of the varnish, but it is critical to remove as much of the glossy finish as possible. Once you've finished sanding, vacuum as much dust as possible, then wipe the piece with a damp rag to remove all traces of dust.
Step 2: Choose Your Primer
If you were able to successfully sand the wood back to a clean, unfinished state, a standard primer will probably work fine for your piece. If some varnish remains on the wood, look for a primer that provides superior adhesion and is designed to cover up these types of imperfections. Sherwin-Williams PrepRite ProBlock is an excellent choice for creating a smooth surface that's ready for paint. Some kinds of primer recommend a second coat; apply if directed.
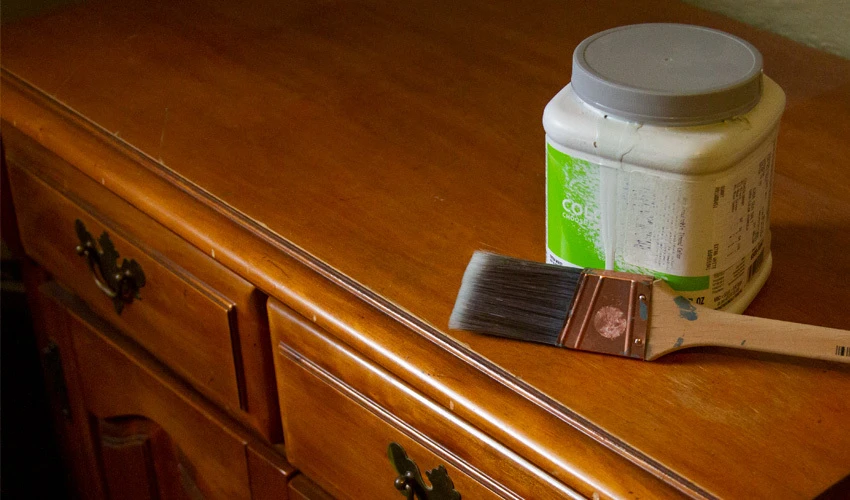
Step 3: Time to Paint
Once the primer is completely dry, give the entire piece a very gentle sanding with a fine-grit sanding block. Vacuum the whole piece again before wiping down with a tack cloth to remove all traces of dust. Apply paint using a high-quality paint brush--this is one area where spending a few extra bucks on quality will make a considerable difference to the finish of your project. Take care to brush up drips on corners and edges, and apply two to three coats of paint as necessary, making sure to allow enough time between coats for the paint to completely dry. Once you've achieved the paint finish you like, apply polyurethane or protective finish of your choice.
If you're having trouble with your project or need some expert advice, we're here to help! Contact the friendly professionals at Five Star Painting today!