Mar 02 2026
Hallways, we pass through them every day and although they are not usually a focal point, they do affect the overall feel of the h
Learn more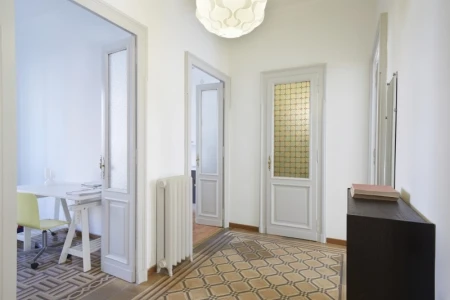
Hallways, we pass through them every day and although they are not usually a focal point, they do affect the overall feel of the h
Learn more

We dove into the most-viewed celebrity home tours from Architectural Digest to see which colors are trending across multi-million dollar celebrity homes.
Learn more.webp)
We used Zillow home value data to find the priciest neighborhoods in the 50 largest U.S. cities and nationwide.
Learn moreAre you struggling to choose between matte, satin, gloss, and flat paint finish? Five Star Painting’s types of paint finish guide has you covered!
Learn more

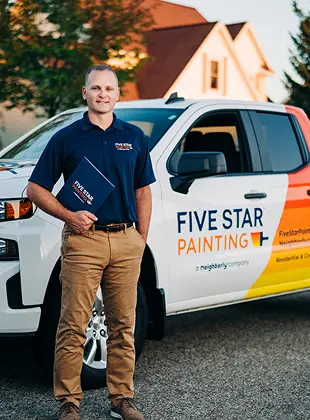
Five Star Painting is a residential and commercial painting company with over 225 locations across North America. All of our locations are locally owned and operated by experienced professionals who deliver customer-focused, high-quality interior and exterior painting services.
Our approach to painting involves meticulous attention to detail, which includes proper preparation, surface cleaning, priming, and using only premium paints from Sherwin-Williams, Benjamin Moore, and Behr to ensure a smooth, long-lasting finish that looks great for years.