Five Star Painting explains how to stain over painted wood for a refreshed look.
|
Wood is an exceptionally strong and durable material, used in the production of furnishings and flooring, for use both indoors and outdoors. In order to withstand the test of time and increase the aesthetic appeal of this organic material, a finish must be applied with options including either paint or stain. Paint offers the greatest versatility with unlimited color choices to match any decor, and can be easily applied over stain, but can you stain over painted wood? The short answer is yes, but before you begin, consider these tips from the pros at Five Star Painting.
Wood Stain vs. Paint

Your choice of coverage depends on a number of factors including application, intended use, and individual preference. Paint offers an unlimited number of color choices and can easily cover flaws or blemishes within the wood, while stain helps to highlight its natural beauty for a more rustic flair. When properly applied, both materials help to seal and protect the natural grain and may help to prevent damage or fading. The pros and cons of each include:
Stain
Pros
- Faster drying time
- Enhances natural wood grain
- Variety of options for color and opacity
Cons
- May require more prep work to hide flaws
- Maintenance includes periodic sealing and restaining
Paint
Pros
- Unlimited color choices
- Hides a multitude of flaws
- Consistent, even finish
Cons
- Longer drying time
- Outdoor surfaces such as decking require periodic refinishing
- More labor-intensive to reverse the process of stain application
How to Prepare a Painted Wood Surface for Staining
Whether you've grown tired of the look of your painted deck or furnishings, or simply want to restore the natural beauty of the wood, the time you invest in preparing the surface will determine your satisfaction with the finished product. Consider the following tips, which outline this labor-intensive process to ensure the successful completion of your project.
Materials
- Scraper
- Chemical paint stripper
- Strong detergents such as trisodium phosphate (TSP)
- Drop cloths
- Water
- Scrub brush
- Clean rags
- Waterproof gloves
- Goggles
- Wood brightener
- Sandpaper
- Water or oil-based stain
- Applicator
- Sealer
Step One: Remove the Paint
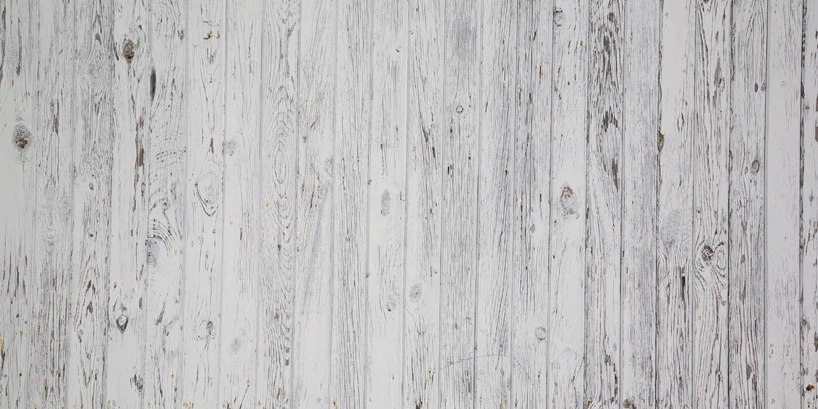
The method used to remove old paint will depend on the condition it's in and how many layers of paint lay below the surface. Begin by using your scraper to remove the paint from a small section to determine the best solution. Scrape as much paint as you can from the surface, using a combination scraping, chemical strippers, and sanding to reveal the bare wood, or consider leaving a bit of paint behind to give the wood a unique patina.
Step Two: Clean the Wood

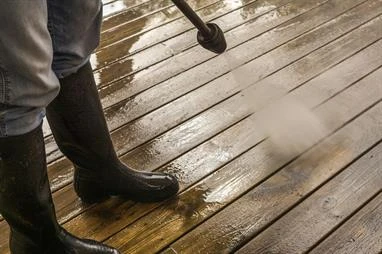
Prior to staining it's important to clean the wood to remove any stains or mildew and eliminate graying, and perform any necessary repairs. Scrub the surface using a stiff brush and the cleaner of your choice, or for larger areas use a power washer. Allow the wood to dry thoroughly before proceeding to ensure the stain adheres (this can take several days for exterior surfaces depending on the climate and weather).
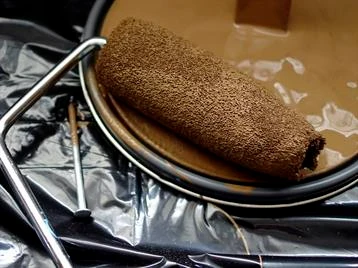
Step Three: Apply the Stain
For outdoor surfaces such as your deck, perform one last sweep to remove dust and debris. Apply the stain according to the directions on the label with consideration for the following:
- Stir before applying for consistent coloring
- Apply a second coat for a more intense finish
- Seal the surface for maximum protection
For a professional finish trust the experts at Five Star Painting for all your interior and exterior painting needs. Complete your backyard makeover with more outdoor patio ideas, to make the most of your outdoor living space.
This article is intended for general informational purposes only and may not be applicable to every situation. You are responsible for determining the proper course of action for your home and property. Five Star Painting is not responsible for any damages that occur as a result of this blog content or your actions. For the most accurate guidance, contact the Five Star Painting location nearest you for a comprehensive, on-site assessment.
FAQs About Painting and Staining Wood
Our years of experience, attention to detail, and decades-long commitment to exceptional customer service set Five Star Painting apart from the competition. Continuing this high standard also includes using our knowledge and experience to answer your most frequently asked questions about painting and staining wood.
Do I need to sand wood before staining if it was previously painted?
Yes, if wood was previously painted, sand before staining. Stain works by penetrating the wood fibers to impart color. Paint, on the other hand, forms a film on the surface, sealing the wood pores. If you try to apply wood stain over paint, it won't be absorbed properly, resulting in a blotchy, uneven finish. The stain won't adhere well and will obscure the wood grain instead of enhancing it.
Sanding removes the paint layer, exposing the bare wood underneath so the stain can penetrate effectively. It also smooths the surface, removing imperfections and allowing an even stain application. While chemical strippers or heat guns can remove the bulk of the paint, sanding is almost always necessary for the final removal and surface preparation before staining.
Here’s how to sand wood before staining if it was previously painted:
- Safety first: Wear a dust mask or respirator (especially important if dealing with old, lead-based paint), safety glasses, and gloves.
- Initial paint removal (coarse grit): Start with coarse-grit sandpaper (around 60–80 grit) to aggressively remove the paint layers. An orbital sander can speed this up on flat surfaces. Focus on removing all visible paint.
- Smoothing (medium grit): Once the paint is gone, switch to medium-grit sandpaper (100–120 grit) to remove the deeper scratches left by the coarse grit and further smooth the wood.
- Final preparation (fine grit): Finish with fine-grit sandpaper (150–220 grit), sanding with the grain of the wood. This creates a smooth surface that’s ideal for accepting stain evenly. In most cases, sanding to a higher grit is not recommended, as the finer dust can block wood pores and hinder stain penetration.
- Clean thoroughly: Remove all sanding dust using a vacuum with a brush attachment, followed by wiping with a tack cloth or a slightly damp cloth (allow the wood to dry completely before staining). Any remaining dust will interfere with the stain.
- Contact an expert: Instead of taking on a DIY project like staining over paint, request a professional from your local Five Star Painting team to handle the stress, involved process, and cleanup. Hiring an expert allows you to avoid problems with inconsistent sanding and difficult paint removal while being assured of the results you want.
Can I stain over paint without removing it?
No, you generally cannot stain wood effectively if it's covered with paint. You should always remove the paint first. Traditional wood stain is designed to penetrate the wood pores to add color and enhance the grain, while paint creates a solid, non-porous film that blocks this penetration.
Attempting to apply wood stain over paint will likely result in a messy, uneven finish. The stain will sit on top, unable to soak in, potentially remaining sticky and easy to rub or peel off. Most importantly, it won't achieve the look of stained wood. For stain to work as intended, the paint must be completely removed via sanding, stripping, or both, exposing the bare wood underneath.
What happens if I don’t remove all the paint before staining?
If you don't remove all the paint before staining, the results will look inconsistent and unprofessional. Wood stain needs to penetrate bare wood fibers to work correctly. Any remaining paint patches will block the stain, preventing absorption in those areas.
Staining over paint leads to a blotchy appearance, where some spots absorb the stain deeply while others (covered by residual paint) take little or no color, or the stain just sits on top. The wood grain will be obscured wherever paint remains. Furthermore, staining over paint creates flecks that won't adhere properly and may easily peel or rub off later, compromising the durability of your finish.
For a simpler solution, contact your local Five Star Painting team. Our experts can handle your wood staining project from beginning to end.


