How to Store Paint Brushes: Dos and Don’ts

When it comes to buying paint and accessories you get what you pay for. You can protect your investment and increase the longevity and performance of your brushes with proper maintenance techniques before, during, and after use. Follow our comprehensive guide to the best way to store paint brushes, brought to you by the experienced professionals at Five Star Painting.
How to Choose a Quality Brush
The quality of your paint brush will determine your satisfaction with the finished product and make the painting process faster and easier. For all interior and exterior projects in visible areas of your home, spending a few more dollars on the right brush and choosing the right one for the job can mean the difference between an amateur and professional looking finish.

Brush Types
- Natural Bristles - Made from natural animal hair (such as hog or ox hair) these brushes are best suited for applying oil-based paints and finishes.
- Nylon/Polyester Blends - This winning combination of materials is easy to clean, works well with all types of latex paint, retains its shape, and is exceptionally durable.
- Polyester Bristles - Recommended for a smooth, even, latex paint application.
Sizes
- 1" or 2" - Flat-bottomed, thin, and narrow, best suited for window sashes and trim.
- 3" - Best for doors, cabinets, or wider trim.
- 4" - Designed for large surface areas, holding a larger amount of paint for more efficient application.
End Types
- Angled - The bristles are cut at an angle to make it easier to apply to vertical trim.
- Chisel Trim - Bristles are slanted to produce a clean, thin line for edges and corners.
- Square Trim - Bristles are cut square and used primarily for flat surfaces.
How to Store Paint Brushes

Storing Your Brush During a Short Break
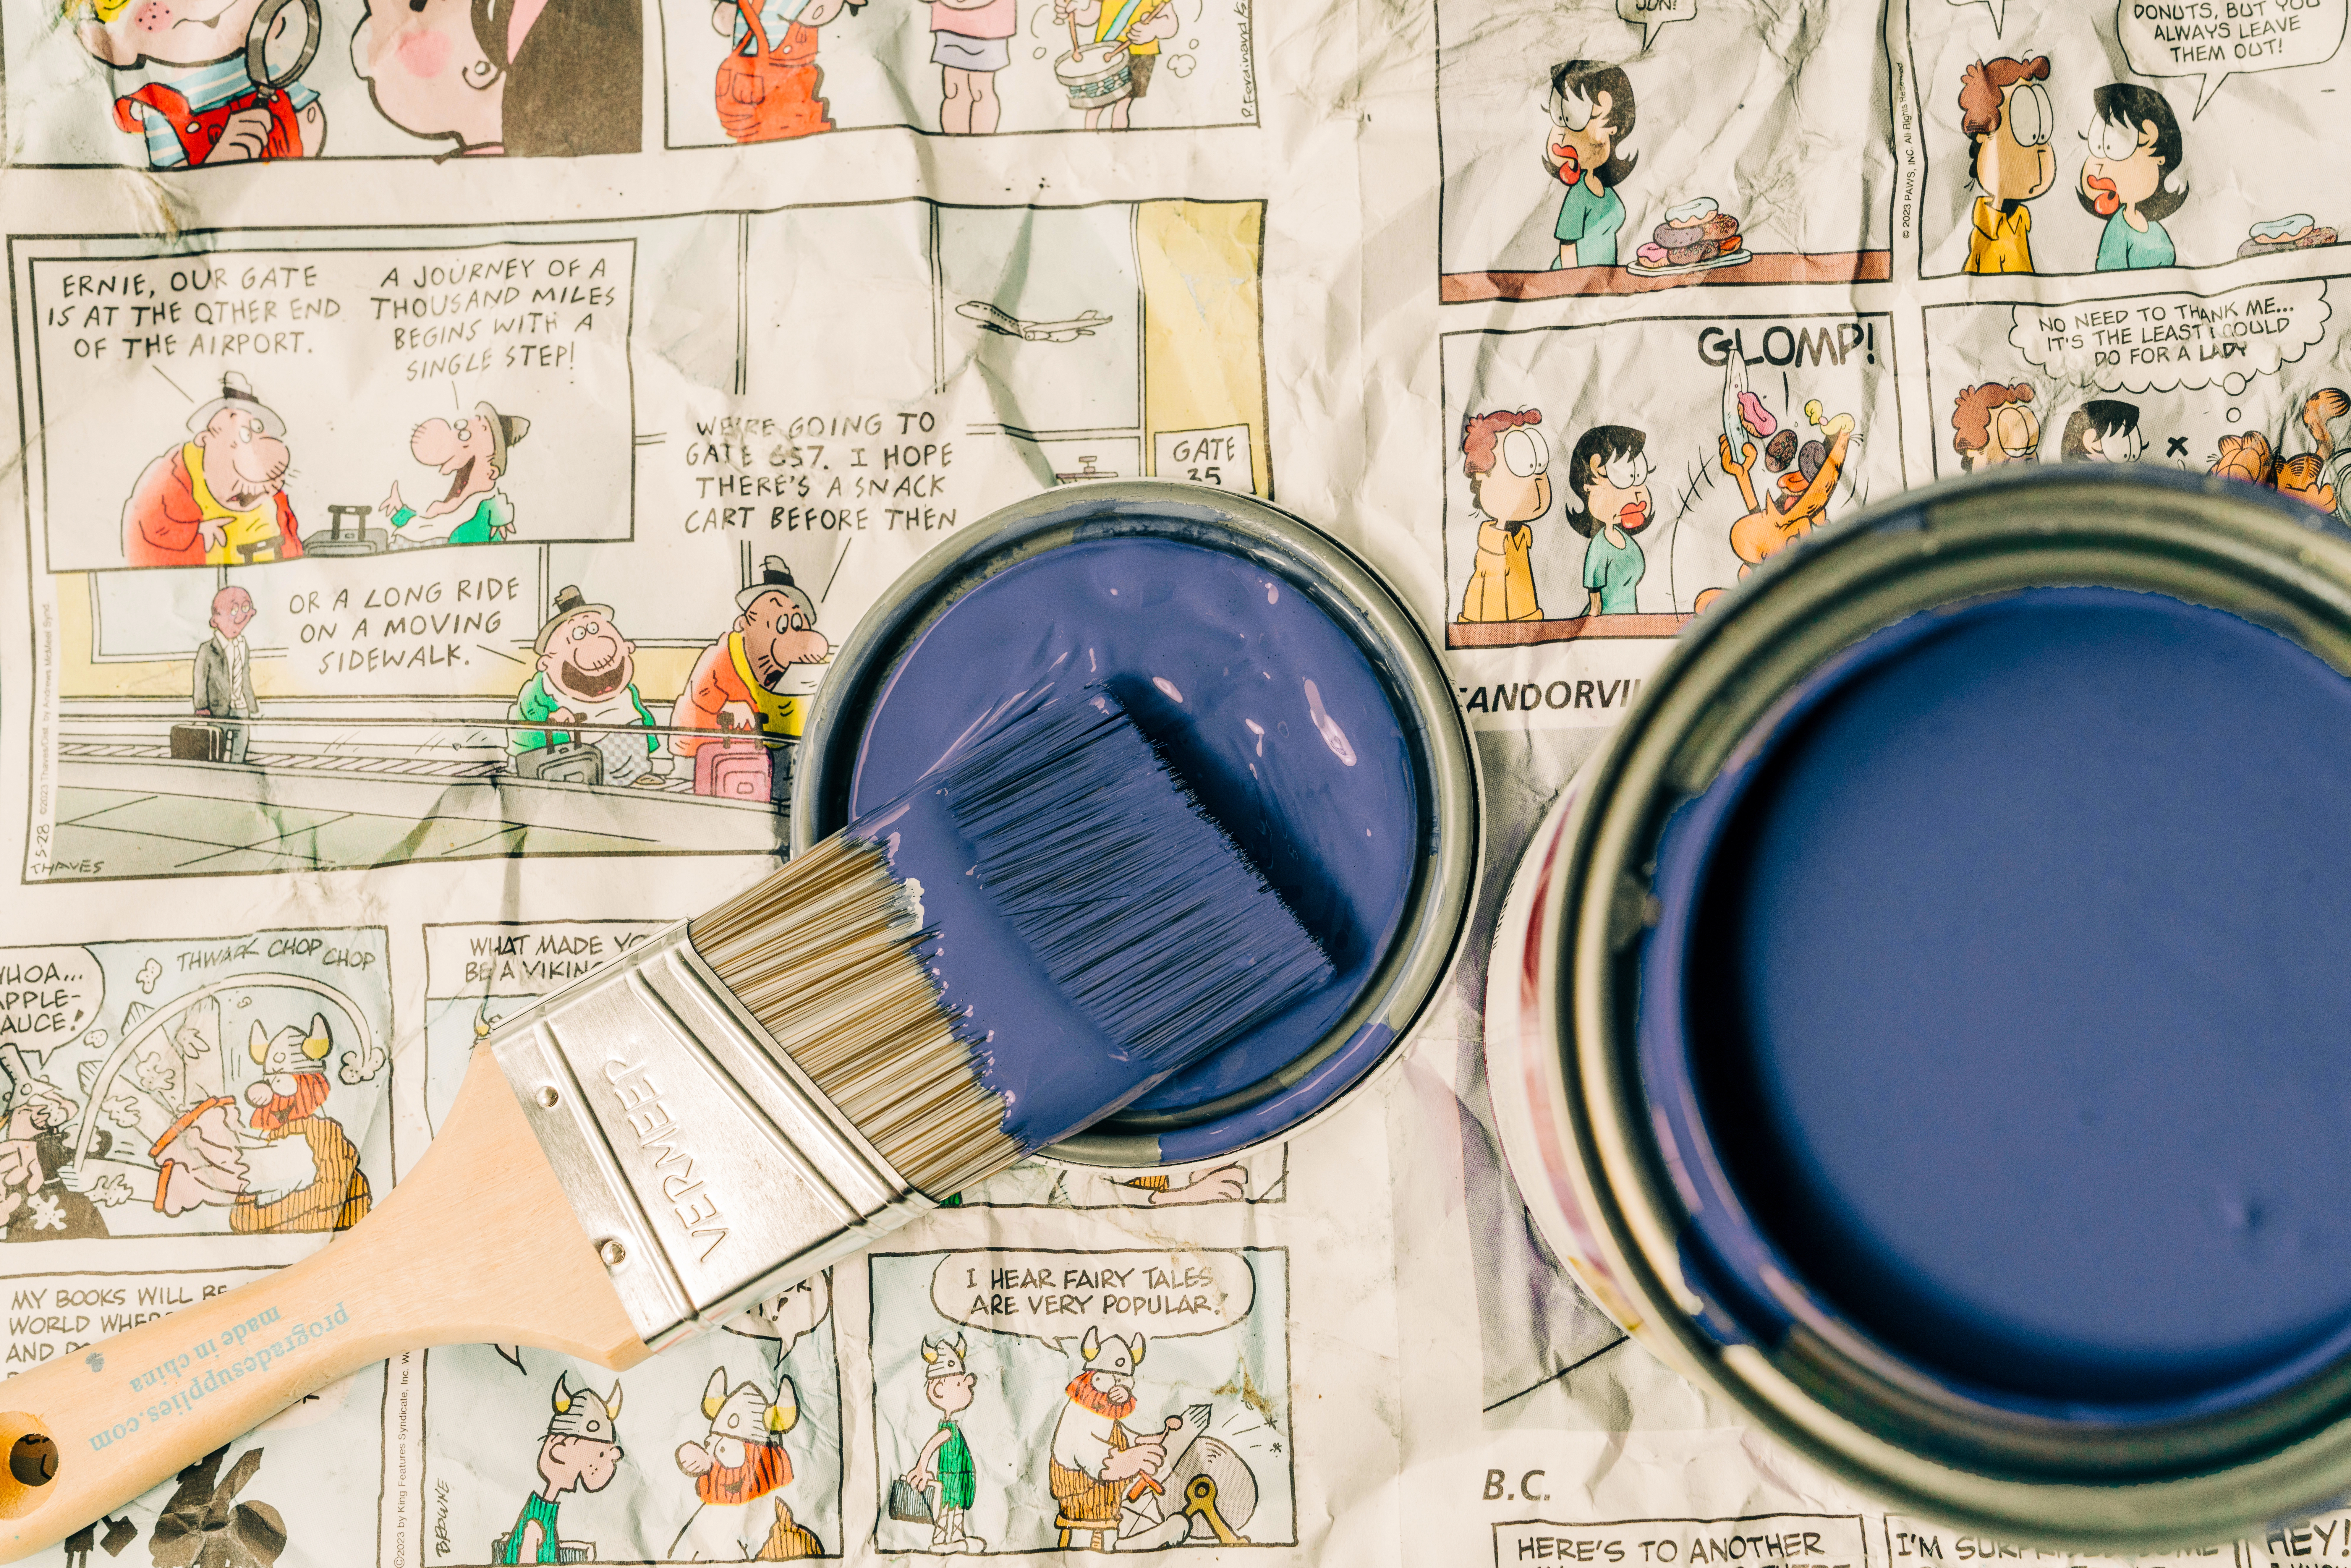
Depending on the scope of your project you may need to take one or more short breaks, but rather than simply laying your brush on a newspaper or your drop cloth, leave the bottom one-third of the bristles in the paint before walking away. This prevents the paint on the brush from drying out without overloading the brush and will allow you to pick up right where you left off upon your return.
Storing Your Brush During a Long Break
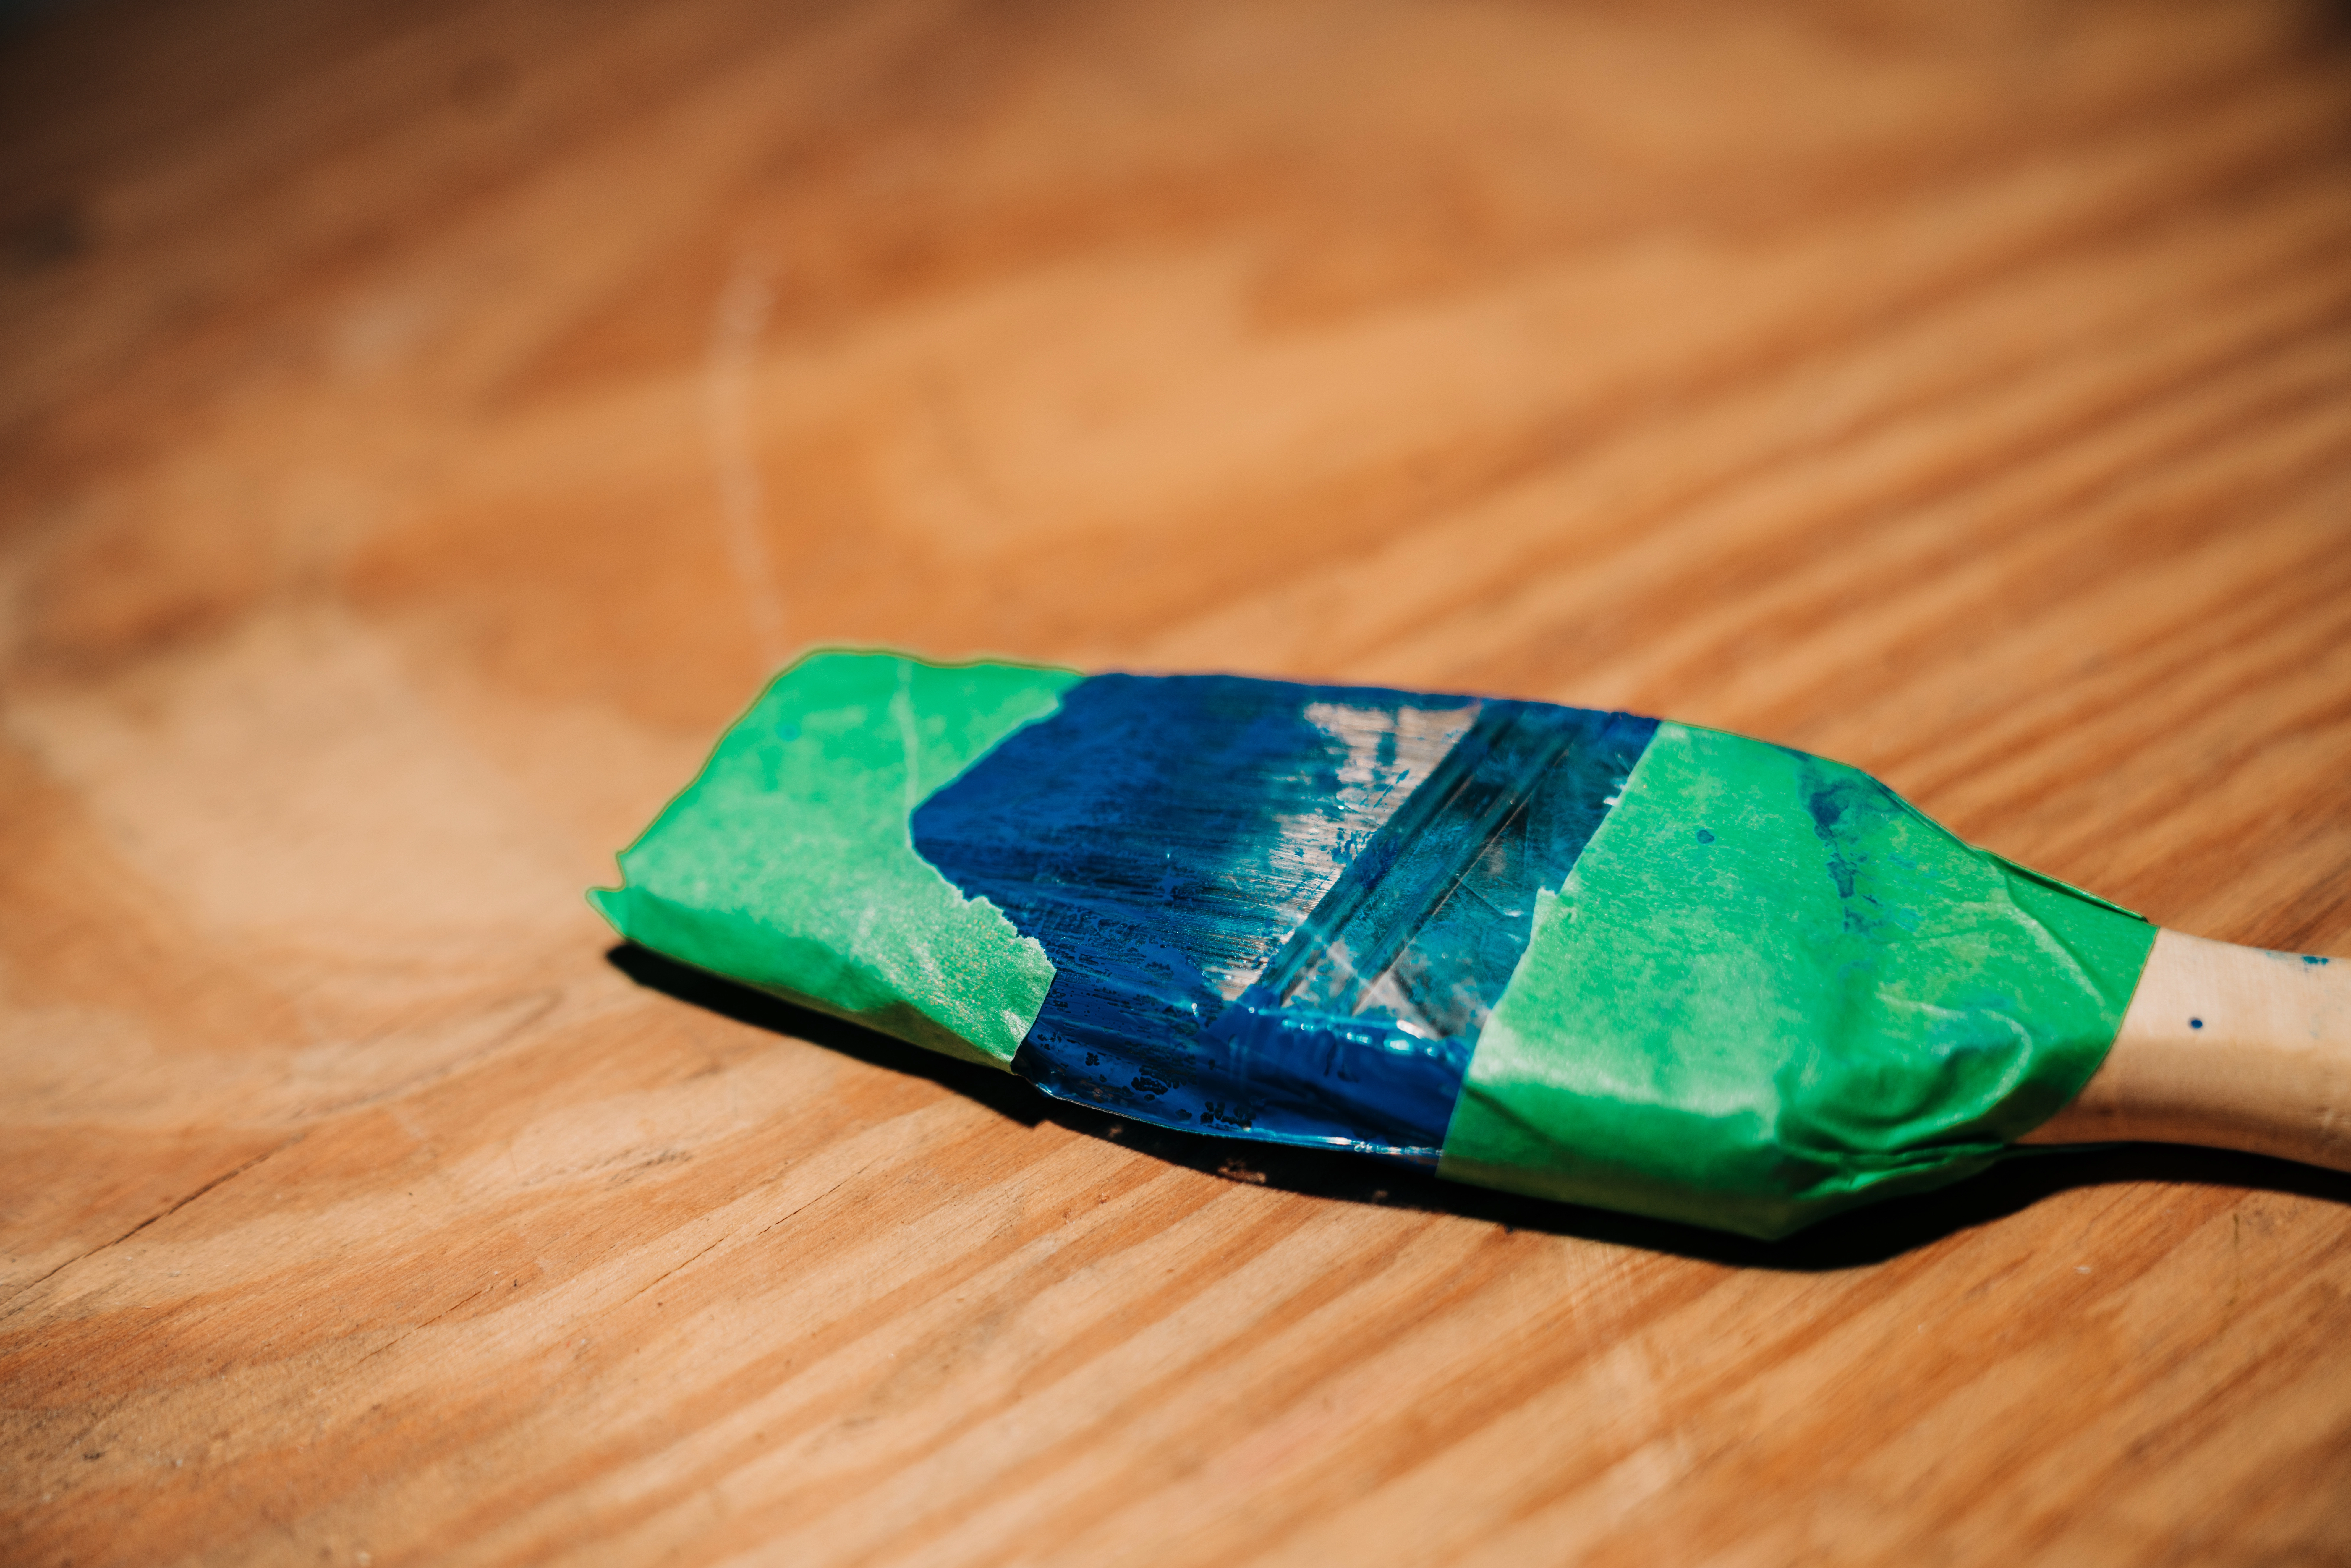
The best way to store paint brushes for a period of several hours or more is by wrapping the entire head of the brush in plastic wrap or a plastic bag. Create a tight seal at the neck of the brush using masking tape, and store for up to two days in a cool area of the home or in your freezer.
Cleaning and Storing Your Brush for an Extended Period of Time
Once your project is complete it is time to clean and store your brush until the next time you need it, using these steps:
- Clean your brush before the paint has a chance to dry, first removing any excess paint by running the brush along the rim of the paint can and then brushing in a crisscross pattern across one or more sheets of newspaper.
- Clean the brush thoroughly, using water for latex-based paint and the appropriate solvent for oil-based products.
- Wash the brush with soap and water to remove any leftover solvent and slap the brush against the edge of your work table or deck railing to get rid of surplus water.
- Reshape the bristles by hand or use a paint brush comb.
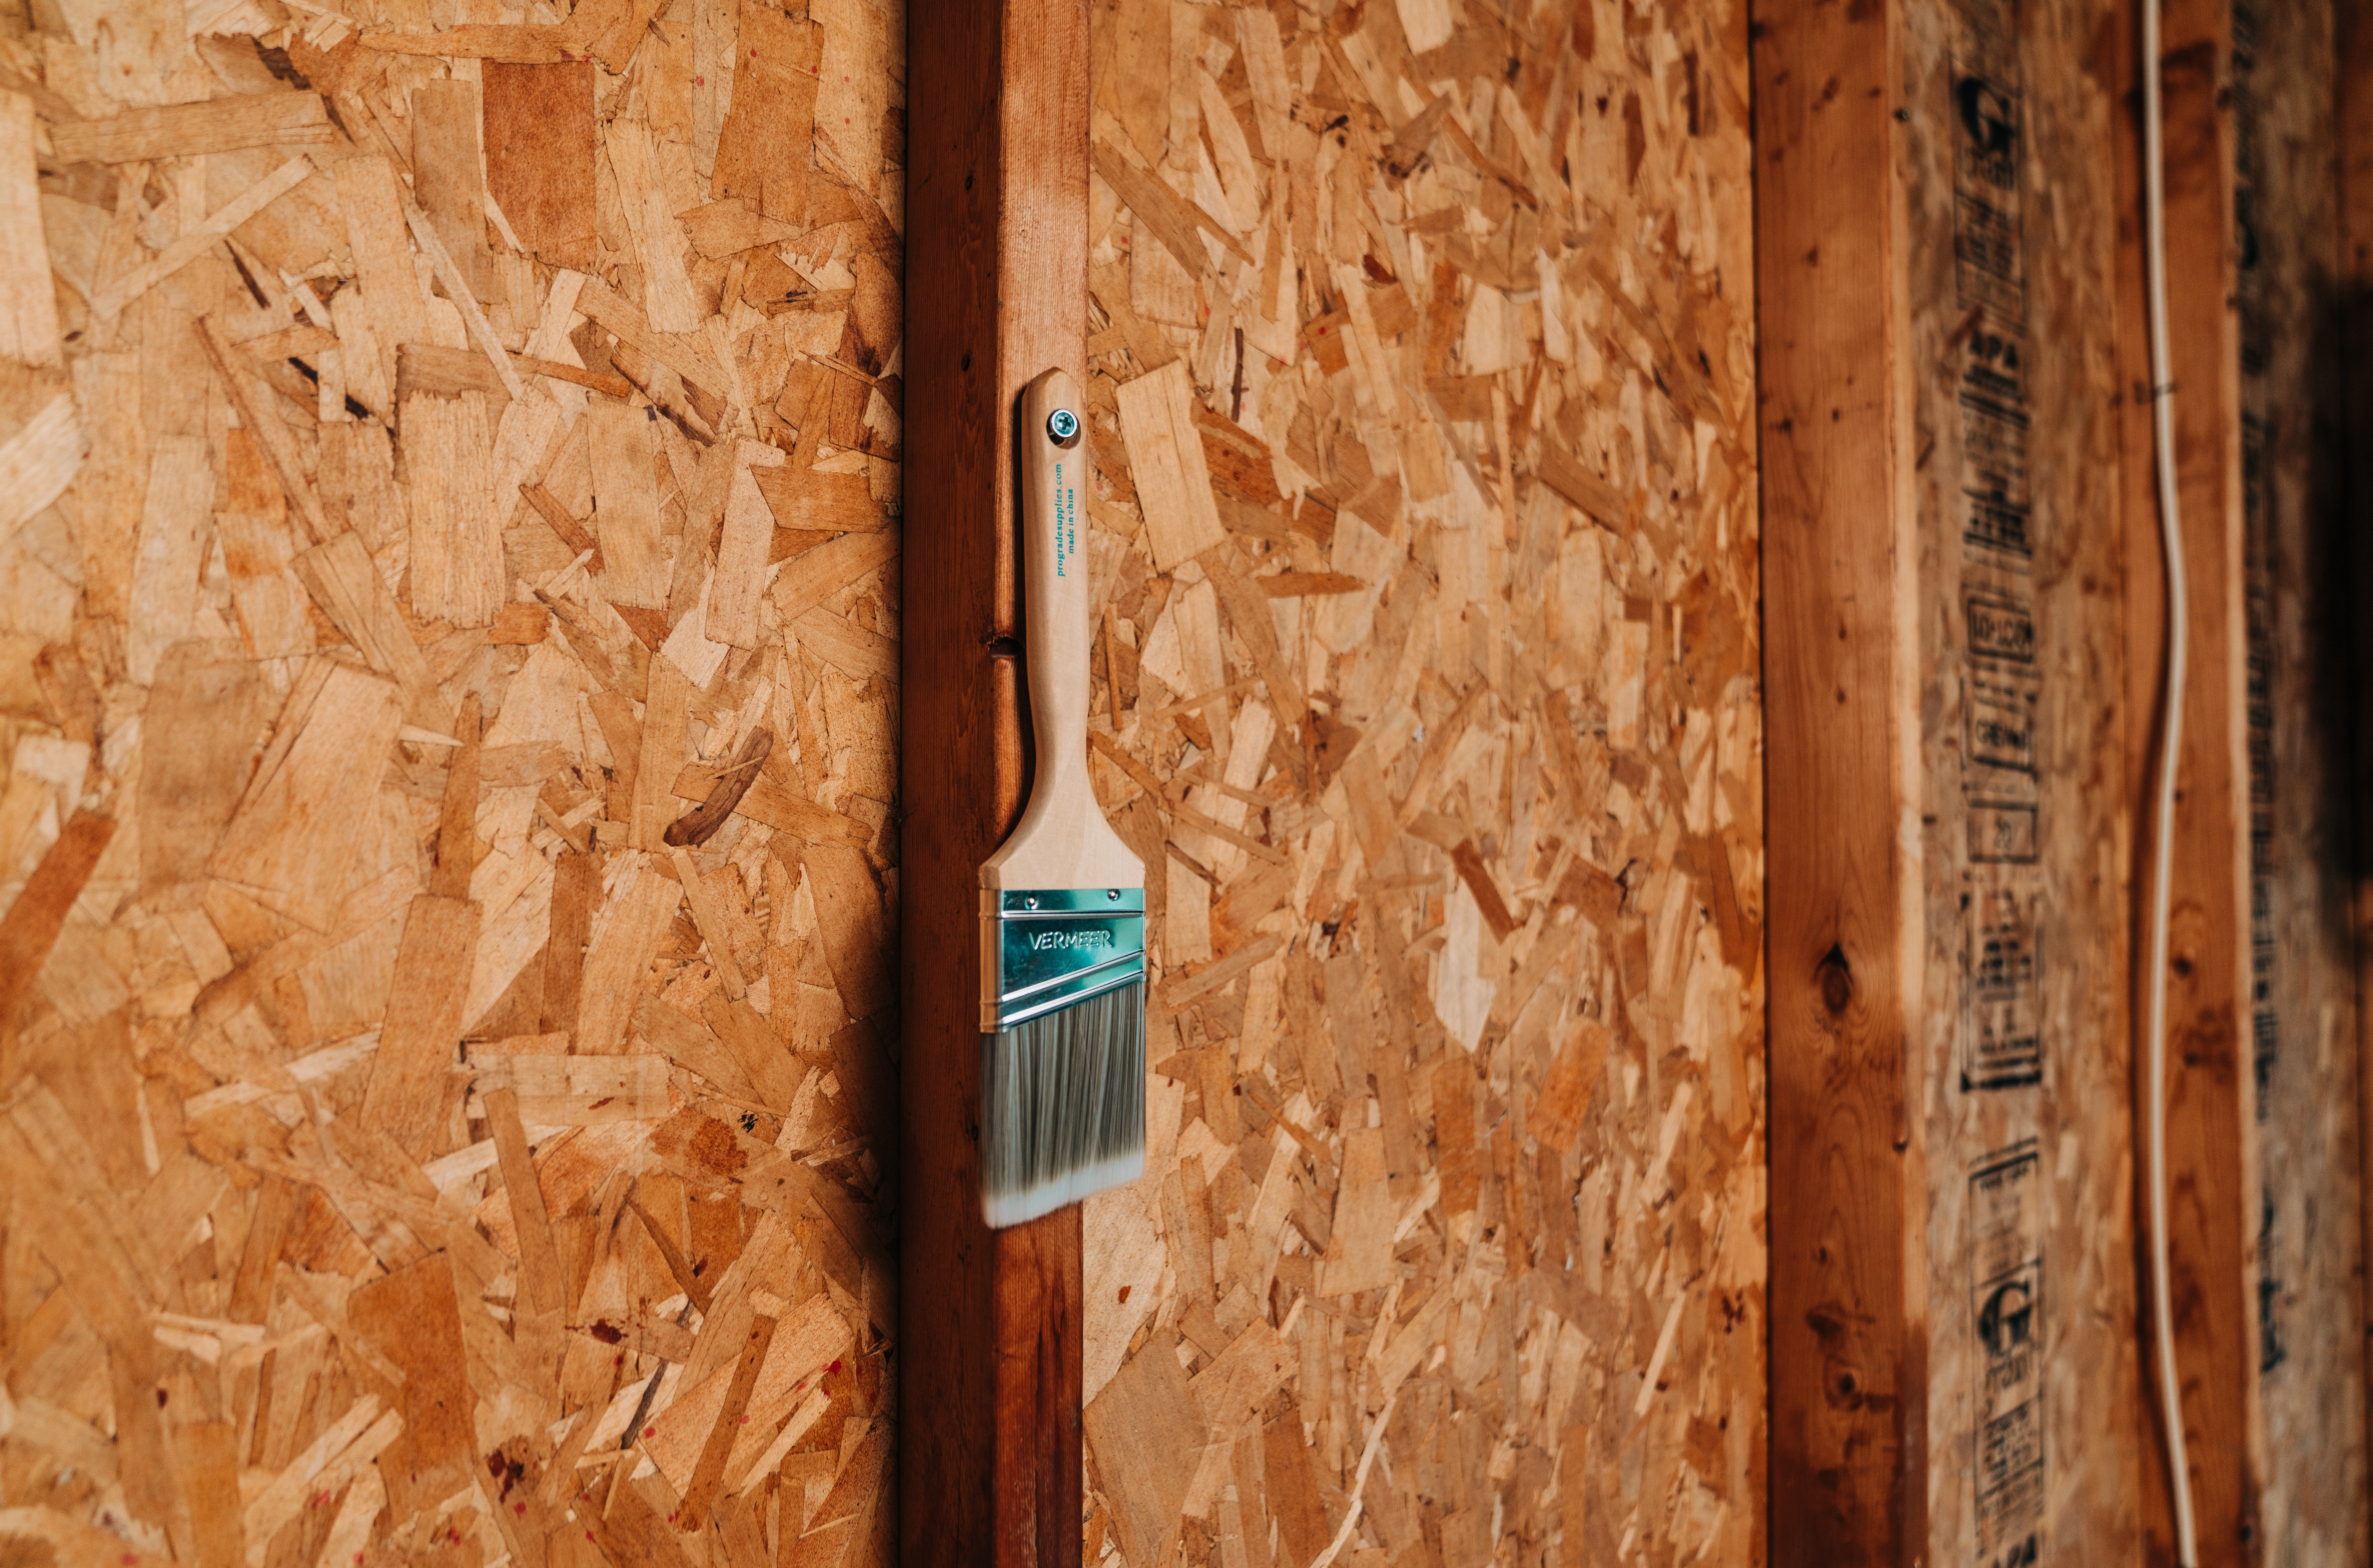
- Hang the brush vertically with the bristles facing downward.
Finished with the project, but still have leftover paint? Here’s our tips on how to properly repurpose or dispose of these leftover materials.
If you have any questions or would like to learn more about interior painting or our other services, contact Five Star Painting today!
 Click to call


