Painter’s tape is a DIY painting project’s best friend. It helps you achieve crisp, clean lines and professional-looking results. However, contrary to popular belief, running a strip of painter’s tape on the ceiling, floor, or around trim won’t guarantee perfect results. There is a learning curve on how to apply and remove painter’s tape correctly for great results.
Before you start masking off your walls, learn everything you need to know about painter’s tape and how to use painter’s tape from the experts at Five Star Painting.
What’s the Best Painter’s Tape?
Painter’s tape comes in different widths with different adhesion strengths depending on the project. The best painter’s tape will depend on the type of paint, where you’re painting, and the condition of the surface. Select the painter’s tape for your specific project with the suggestions below:
Painter’s Tape Adhesion
Select the adhesion level based on your project:- Low adhesion level tape can remain in place for longer periods of time and are best for delicate surfaces, wallpaper, or paint with a faux finish.
- Medium adhesion is considered multipurpose and is best for interior and exterior projects. This tape can remain in place for up to two weeks.
- High adhesion is best for exterior surfaces or rough, textured surfaces. It’s also great for securing drop cloths. This tape should be removed within seven days.
Painter’s Tape Width
For windows, trim, and molding, look for painter’s tape that is 1.41 inches or 1.88 inches wide. These widths give you enough tape for a clean edge. For tight spaces, the narrow-width painter’s tape would be best. Wide painter’s tape (2.5+ inches) is best for hanging plastic and tarps to protect floors and ceilings. Don’t want to buy multiple widths? Then a roll of 1 1/2-inch tape should do the job.
Are Painter’s Tape and Masking Tape the Same?
In short, no. Painter’s and masking tape may look and feel the same, but they do not serve the same purpose. Painter’s tape is designed to be removed and leave no residue. It also won’t wrinkle or shrink when it comes into contact with the paint. While masking tape may work in a pinch, if it’s left on the surface for a long period of time, there’s a good chance it’ll leave behind a sticky residue or it’ll wrinkle when it comes into contact with the paint.
What Color Painter’s Tape Do I Need?
Blue painter’s tape resists UV light, which degrades the tape and glue over time. If you’re working outside, always use this type of tape. If you’re working inside, the color of the tape you’re using is insignificant as long as it’s the right width and the correct adhesion level.
How to Apply Painter’s Tape
Paint won’t stick to a dusty or dirty surface. Run a damp rag around the area you’re masking to remove dust and debris that could prevent adhesion. Once the tape is applied, run a small, flexible putty knife along its length to press the adhesive into the surface. Don’t skip this step or substitute your hand for the putty knife!
Masking a Room for Painting
Masking a room costs time and money. Professional painters with a steady hand and proven methodology can cut in ceilings and trim without masking. This is a risky move for a DIY painter, and they’re better off spending the time and money to mask off the area as much as possible to prevent mistakes. Whether you’re a beginner or a pro, it’s always recommended to remove or cover furniture with drop cloths.
Masking a Room to Spray Paint or Texture
- If you’re spraying paint or texture, you’ll need to mask off entire rooms or walls. The easiest way to do this is to run a strip of wide painter’s tape (3+ inches) around the perimeter of the ceiling. Only adhere the top edge of the tape, leaving the bottom edge exposed. Next, slide plastic under this exposed edge and gently press it into the plastic. We recommend lightweight and thin (.31mm) high-density plastic sheeting.
Masking Trim
- To paint floor trim, run a strip of wide painter’s tape on the floor along the trim. Have you recruited the kids for help and want more protection? A strip of painter’s tape combined with a sheet of 6-inch wide masking paper will give you more room for error. If you’re installing new trim, it’s always easiest to paint the trim on a set of sawhorses before installation.
How to Remove Painter’s Tape
Just like applying the tape, removing it requires some patience and practice. Don’t leave painter’s tape on longer than specified by the manufacturer. If you wait too long, the adhesive can harden and remain stuck on the surface when you tear it off.
For best results, you should tear the painter’s tape while the paint is still wet. Tear the tape off at a 45-degree angle to the surface for a clean line. If you wait for the paint to dry, it’s important to score the edge of the painter’s tape to break off any dried paint on top of the tape. Forgetting to do this may give your edge a rough and ragged look. Simply swipe the corner of your putty knife along the edge of the painter’s tape to break this seal.
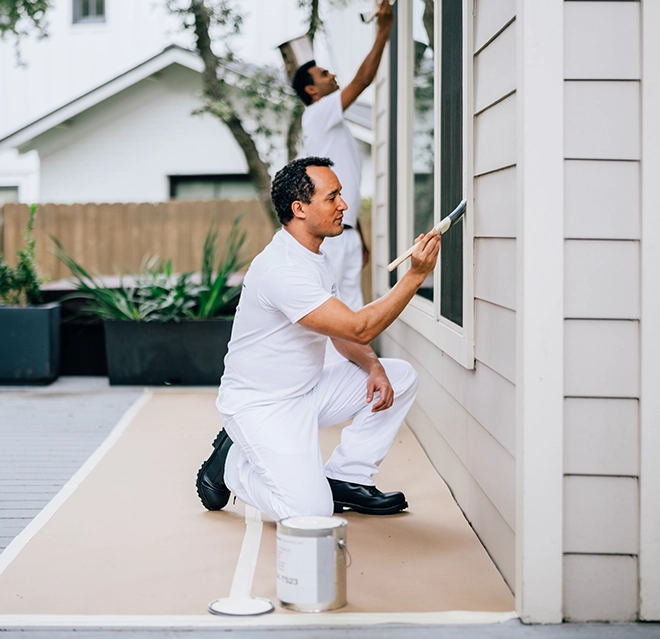
Professional Painting Services
Fed up with trying to find the right painter’s tape, paint finish and color, paintbrush, and application technique? Once that’s decided, don’t forget to prepare the room properly! That’s what we’re here for. When you hire Five Star Painting, you can enjoy the peace of mind that you have a team of professional painters with years of experience committed to your satisfaction. Take back your free time and give us a call or request a free estimate online.