Five Star Painting shares expert tips on cutting in like a pro for clean paint lines.
|
Nothing transforms the look of a room like a fresh coat of paint, and nothing can ruin your new paint job like a messy application. If you're up for the challenge of a DIY project but would like professional results, the secret is learning how to accurately cut in paint along ceilings and trim. Before you begin, take a look at these tips from the experts at Five Star Painting to learn how to get perfect lines when painting walls in your home.
What is Cutting In?
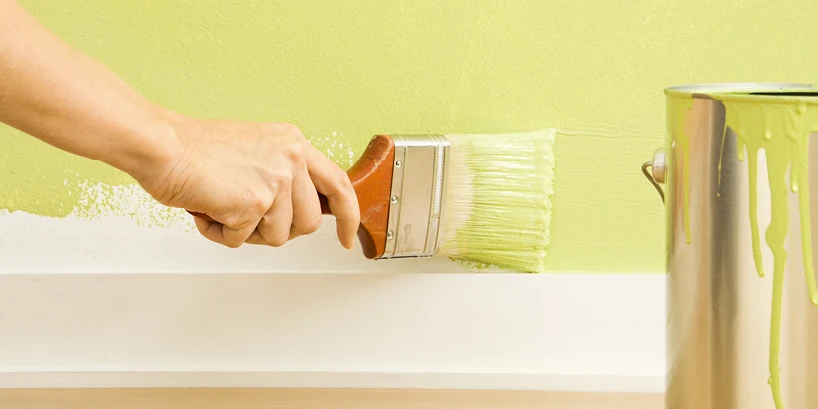
This technique is used to paint a neat, consistent line of paint adjacent to trim, molding, or ceilings. Although the process may be time-consuming, the neatness and quality of this stage of your project will determine your satisfaction with the end result. Invest in a good-quality angled sage brush that is the right size for the job. A two or two-and-a-half-inch brush works well for most applications, but if you will be applying paint to windows or other areas with more delicate woodwork you may want to invest in a smaller brush as well for ease of use.
How to Cut in When Painting
Gather Your Equipment
Having all your materials in one place will minimize disruptions and frustration. Gather the following before you begin:
- Brush(es)
- Painter's tape
- Paint
- Paint pot
- Stir stick
- Clean rag
- Headlamp
- Ladder
Do a Practice Run
Choose a section in the middle of the wall and apply a piece of painter's tape vertically and another one horizontally. Practice cutting in along these lines until you feel comfortable with the brush, paint load, and technique. Make sure you're not painting over fire or water damage, which requires professional restoration before the paint can be applied.
Illuminate Your Workspace
Ensure the area you are working in is well lit whether by natural or artificial means. For darker corners or up along the ceiling line, a headlamp can be an effective tool that leaves your hands free while providing the light you need to paint clean lines.
Fill Your Bucket
Use a separate paint pail rather than dipping your brush into the original gallon. Pour approximately one to two inches of paint into the pail to prevent overloading your brush and refill as needed.
Load the Brush
Dip your brush between one-half to three-quarters of an inch into the paint pail and lightly dab it on the interior sides to remove excess paint.
Get a Grip
Hold the brush like you would a pencil or a pen with a relaxed grip, placing your hand close to the bristles.
Go Slow
Any attempts to rush through your paint job will show with uneven lines or unwanted paint on ceilings or trim. You can save the time you will spend cleaning up your mistakes or painting over them by working slowly and methodically around the room.
Work Your Way In
If you're wondering how to get perfect lines when painting walls, the secret is to work up to the transition line gradually. Working in small sections, apply the paint one-quarter to one-half-inch away from the line to unload some of the paint, and on your second pass continue to spread the paint up to the desired edge.
Fix Your Mistakes
Accidents happen, and if you do get paint on your ceiling or trim be sure to wipe it off immediately using a clean, lint-free cloth or rag.
Feather the Edges
Once you have completed a small section, feather the line of paint that is along the opposite edge to eliminate any buildup when the roller is applied.