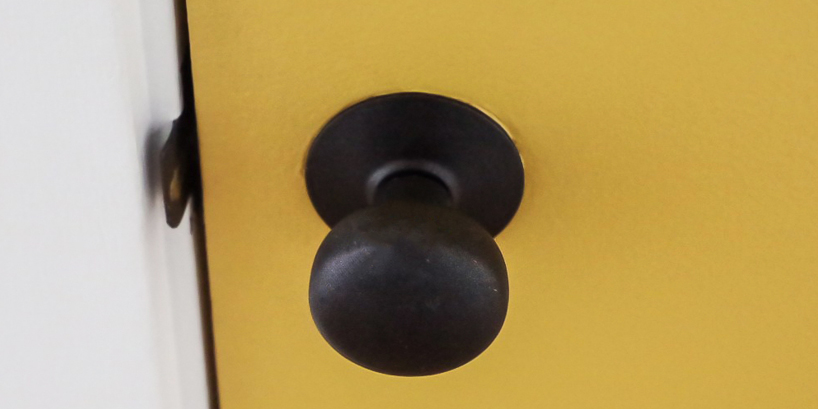
Five Star Painting explains how to paint door knobs for a fresh, updated look.
|
Are you tired of your old brass door knobs from 1985? Don’t spend money on new hardware just yet – the budget-friendly way to bring your door knobs into the 21st century is to spray paint them. This instantly upgrades your doors and adds unique color accents without the cost of replacing the hardware. Follow this guide on how to paint door knobs for a quick update that will last for years to come.
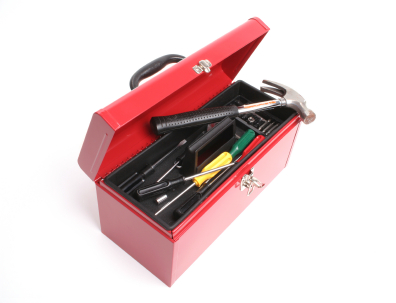
Tools for Painting Door Knobs

Make sure you’re not missing anything critical before you begin your project. Here’s what to put on your list:
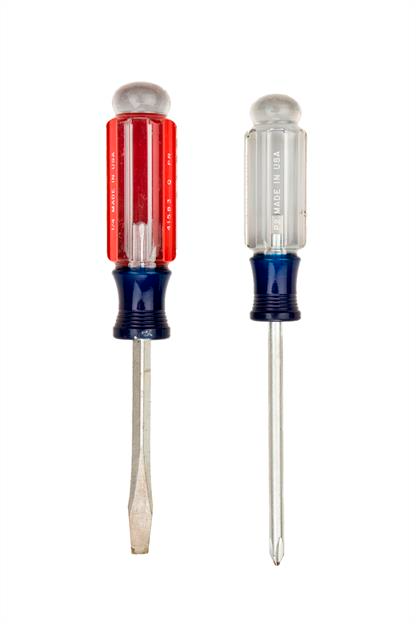
- Screwdriver
- Rag
- Degreaser
- Sandpaper
- Steel wool
- Painter’s tape
- Styrofoam or floral foam (to hold the door knob while painting)
- Drop cloth or cardboard
- Metallic primer
- Metallic spray paint
- Polyurethane clear coat
How to Paint Door Knobs
Follow these steps for a beautiful, long-lasting finished product:
- Remove the door knobs from the door: You will most likely need a screwdriver to remove the door knobs and lock mechanism from the door. Do this one step at a time, and take pictures as you go to aid in the reassembly process. NOTE: You may be able to leave the door knobs in place if you carefully mask off the door with painter’s tape to avoid getting spray paint on them.
- Clean and sand the door knobs: Clean the knobs well with a rag and degreaser to remove oil and grime. Lightly scuff them with sandpaper and steel wool to encourage better paint adhesion.
- Insert painter’s tape into the keyhole: This ensures no spray paint enters and clogs the lock mechanism.
- Insert the door knob hardware into a block of foam: Styrofoam from old product packaging is perfect for this. If you don’t have any lying around, you can find floral foam at any craft store. This step provides a stable base for the door knob, so you have an easy way to paint all sides without getting any spray paint on your hands. Set the foam on a drop cloth or a large piece of cardboard to prevent spray painting the ground.
- Prime the door knob: Carefully read the instructions on the can of metallic primer. Apply the primer according to the manufacturer’s recommendations. Allow the primer to dry thoroughly. NOTE: If you choose a “paint and primer in one” spray paint, you can skip this step.
- Spray paint the door knob: Apply a coat of metallic spray paint according to the manufacturer’s instructions. Let it dry, and then apply a second coat. Allow the hardware to dry completely for at least 24 hours.
- Apply a polyurethane clear coat: Just like applying a top coat to fingernail polish, a clear coat on your spray-painted door knobs helps them last longer. After at least 24 hours of drying time, apply a glossy or matte clear coat of your choice according to the manufacturer’s directions. Allow it to dry and apply a second coat for good measure.

- Reinstall the hardware: Now that your door knobs are all made over, it’s time to reinstall them. Use the pictures you took while removing them to guide this process.
If you’re considering replacing your door knobs entirely, you can achieve a classic look with glass door knobs. This could be a wonderful vintage accent on a bathroom door, walk-in pantry, or closet.
For other home painting and design tips, turn to Five Star Painting. We can perform any interior or exterior painting project you need! Schedule your free estimate now, or find a Five Star Painting location near you to learn more.


