Five Star Painting explains how to paint trees on your wall for a creative home update.
|
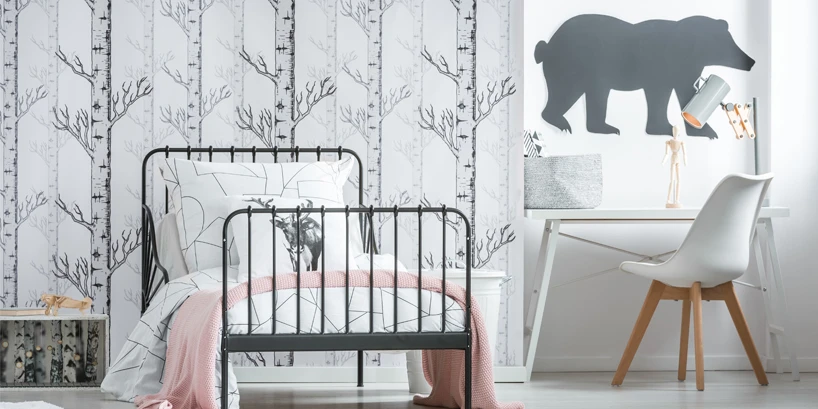
There is no better place to express your unique sense of style than at home, where everything from your choice of furniture to wall color tells a story. If you're looking to make even more of an impact or add a touch of personality to a bedroom, nursery, or other living space, a hand-painted wall mural can make a lasting impression that will delight both visitors and residents of your home. A popular option that is easy for anyone to complete over a weekend (regardless of artistic skill) is a tree, and the team of experts at Five Star Painting has some great tips to help make your project a success.
Follow along with our video for a visual how-to on this project! Read below for in-detail steps.
Materials
Preparation is the key to your success and satisfaction with the end result. Gather the following before you begin, to make the process run smoothly and effortlessly:
- A variety of different-sized brushes
- A variety of paint colors and quantities as determined by your design
- Protective floor covering
- Painters tape
- Overhead projector (borrowed from a friend, library, art store, or school)
- Tree image(s)
- Chalk
- Pencil
How to Paint Trees on Your Wall
Fortunately, there are no hard and fast rules when it comes to painting a tree or any other image on your wall. Use the following steps as a guide, and remember: it's just paint! If you're not satisfied with the result, you can always paint over and start again, or call Five Star Painting to cover it for you.
1. Choose an image from a book or online gallery that suits your style and preference. Either transfer the image onto a transparency for use with your projector, or print it for reference if you plan to draw the tree free-handed. Make sure the image you select is in keeping with the scale of the room, and account for any obstructions such as lighting fixtures, switch plates, bulkheads, or molding.
2. Choose your tree color(s) based on the corresponding wall color and theme of the room. Decide if you want to paint it a solid color if the tree is without leaves, or several colors to add depth and interest.
 3. If using a projector, set the unit up and project the image onto the wall. Use a pencil or chalk to draw the outline, incorporating as much detail as possible, and tracing your lines on the inner edge of the image. This will prevent a distortion in size when you apply your paint.
4. Apply painters tape along baseboards, crown molding, or ceiling as needed to prevent the paint from bleeding.
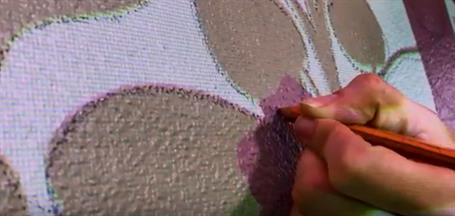
5. Once the outline is applied, retain the original for reference and apply the main color to the tree. Use smaller sized brushes for branches and tips, and a larger brush for the base and trunk.
6. Allow the paint to dry but leave up the painter’s tape in case a second coat is required. Once it is dry, revisit the project and touch up any areas you are dissatisfied with, or that require more color.
7. Once you are satisfied with the main design, you can add leaves, a nest, birds, knots, or other finishing touches in the same or contrasting colors.
8. Remove the tape once the project is dry, and enjoy!
A fresh coat of paint can instantly transform the look and feel of any room. If you’re thinking about painting a mural in a room, why not give a fresh coat of color underneath first? It will make your art pop. Trust the experts at Five Star Painting for professional, environmentally friendly interior and exterior painting services. Call us today at 888-261-3633, or contact us online to schedule an estimate.


