Five Star Painting explains how to paint a room efficiently.
|
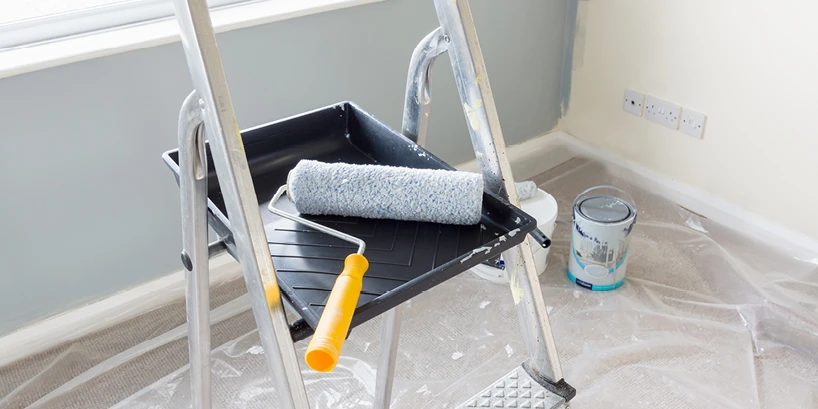
Applying a fresh coat of paint is an inexpensive, effective way to change the look and feel of any room, and it can usually be completed in a weekend. The key to success for any do-it-yourself project is preparation, and in the case of painting, that means having the right tools and materials and knowing where to start. If you're wondering how to properly paint a room in less time with professional results, the team at Five Star Painting can help. Read on to learn the best order to paint a room—and why it matters.
Make Room
Before you apply a drop of paint to your walls, clear the room of as much furniture as you can and cover any items that must remain. While you may be tempted to simply push it all towards the center area, this will make it much more challenging to paint the ceiling and will limit the amount of space you have to move freely as you paint your walls. This is also the time to remove any pictures, shelving, or decorative items that you have hanging, and to remove any hardware or nails.
Take Cover(s)
Remove all switch plate and outlet covers with your screwdriver and store all the materials in a large bowl or bag.
Repair the Walls
Patch any existing holes or cracks including nail holes that will no longer be used. Clean any dust, debris, or dirt from walls, baseboards, trim, and window ledges using a clean, lint-free cloth.
Tape Off
Carefully place high-quality painter's tape around your windows, trim, wainscoting, and more to protect them from paint splatters or seepage.
Protect Your Floors
Use clean canvas drop cloths to cover your flooring and prevent damage from drips and spills. Clean drop cloths or plastic sheeting can be used to protect any remaining furniture or large items.
Paint the Ceiling
Turn off the power to the room and carefully remove the light fixture cover, and tape off the base. Cut in the ceiling by brushing along the perimeter of the room. While you may be tempted to simply force the roller into the corners since you are painting the walls anyway, this can lead to an excess buildup of paint which creates an uneven surface on your walls.
Painting the ceiling first helps to prevent unwanted paint splatter on your walls or trim, and provides you with the luxury of using your ceiling fixture for added light—although we recommend additional natural and artificial light sources during the painting process to ensure a more even finish and coverage.
Paint the Walls
Start by cutting in your paint along the ceiling and trim, and then using your roller. Working on one wall at a time helps to alleviate boredom and allows the cut paint to remain wet for ease of blending.
Additional Tips
Now that you know the best order to paint your room, we have a few additional tips to help make your venture a success:
- Invest in a good quality paint and use ceiling paint on the ceilings, not wall paint, as it is thicker and provides better adhesion with less mess.
- Your freshly painted room will look great with a custom shelving unit
- Take your time; if you rush your paint job it will show
- Consider hiring the experts at Five Star Painting to complete your project for you, leaving you more time to do the things you love.
- Allow sufficient time for the paint to dry before replacing outlet covers, shelving, and artwork.
Need help with your interior painting job? Leave it to the pros at Five Star Painting and schedule an estimate today.