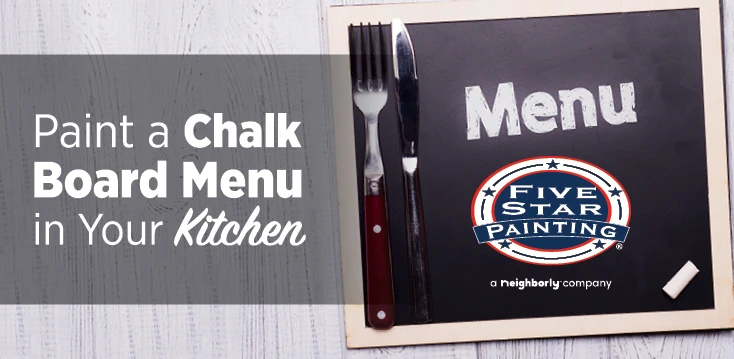
Five Star Painting explains how to create a DIY chalkboard menu in your kitchen.
|
The versatility of chalkboard paint provides us with all kinds of creative and ingenious projects around the home. One of the great things about this product has to be the ability to apply the paint to a wide variety of surfaces in just about every room, including the kitchen. Think about it. How often have you wanted to leave an important message for the entire family or create a visual reminder for the meals you planned for the week? A chalkboard menu provides a very useful accessory. Prominently on display in your kitchen, your chalkboard menu can transform the environment, give the space some character and improve overall family communications.
What You Need to Know About Chalkboard Paint
Undertake proper preparation to achieve the best results. You can purchase chalkboard paint at most of the major paint suppliers and home improvement stores, such as Home Depot, Lowes and Sherwin-Williams. Chalkboard paint comes in many colors. You can purchase chalkboard paint in quart and gallon containers and aerosol cans. Depending on the manufacturer, this type of paint cost $10.00 - $19.00 a quart. Spray paints cost a bit more.
How to Turn an Old Mirror Into a Chalkboard
Below is a quick video showing how easy and fun it is to turn an old mirror into a chalkboard! Below, are more detailed how-to steps you can follow.
Design Menu Board and Build
Select a wall in the kitchen, cabinet surface or an old mirror. You can also design the menu board from plastic or plywood. For a finished appearance, use a frame from old artwork or build one. Paint, stain or refinish the frame to match your kitchen décor. To create a chalkboard menu from plywood or plastic, cut the panel to the appropriate size and install it inside the frame. Your material/tools list may include the following items: plywood ( 2’ x 4’ x 3/16" thick) or other material/surface), framing boards (1”×4”) , primer, fine-grit sandpaper, chalkboard paint, small nails, drop cloth, painters’ tape, hanging wire, jigsaw, and nailer/hammer.
Follow these basic guidelines:
- Draw the design for your menu on construction paper.
- Cut out the outline and trace the pattern onto the substrate.
- Use the jigsaw to cut out the panel to the desired size.
- Cut the framing pieces. Use nails/glue to assemble the frame
- Sand the surface and edges as necessary to ensure a smooth finish.
- Apply primer.
- Apply two coats of chalkboard paint.
Proper Surface Preparation
If you decide to make the wall surface your chalkboard, do not choose a textured surface. For your chalkboard paint menu, you need a smooth, even clean surface.
-
Wall – If the walls has cracks, fill the imperfections with spackle and allow the material to dry. Sand the surface with a fine-grit sandpaper. Make sure that the surface is clean and dirt-free.
- Wood – Prime the wooden surface before applying the paint. The primer contains fills the wood grain and seals the wood, which create a smoother finish. Primer also helps the paint adhere to the substrate and prevents blotching and bleed through.
- Mirrors, Glass and Plastic – Wipe the surface with rubbing alcohol and a clean rag. Next, rub the surface with steel wood,, which helps the primer adhere to the surface. Purchase a product specially formulated for glass or plastic surfaces.
 Protect the floor and surrounding areas with a drop cloth and painters’ tape. Prepare the chalkboard paint for use in accordance with the manufacturer’s instructions. Spray paint produces a smoother finish, but fragile and prone to scratches. When using chalkboard paint out of a container, apply the product with a roller to avoid the appearance of brush strokes. Once the paint dries, cover the entire board with chalk and rub it with a dry rag. Then, erase the board with a damp cloth.
Finally, enjoy your new chalkboard menu!