Five Star Painting shares expert tips for achieving clean, professional-looking trim when painting your home.
|
Nothing can transform the look and feel of your home like a new coat of paint, and nothing can ruin your new paint job like messy trim. Here are some tips from the experts at Five Star Painting for painting trim, protecting it from damage throughout the painting process, and cleaning it without harming the finish.
Where to Begin?
If you're wondering whether to paint trim or walls first, you're not alone. After all, either way you run the risk of getting the paint from the trim on the walls, and the paint from the walls on the trim. However, it is advisable to begin your project by painting the trim, and allowing ample time for it to dry before continuing with your walls. If you take the time to properly prepare, use high-quality tools and paint, and keep a steady hand, you may be lucky and avoid a messy mishap.
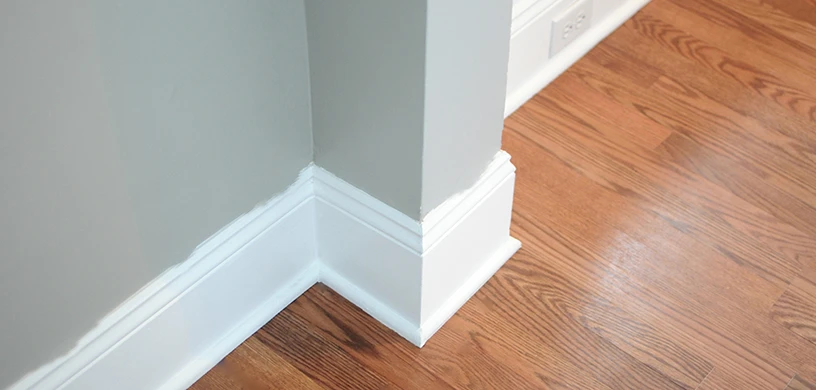
Tips for Painting Baseboards
Nothing shows wear and tear in a room like your baseboards, which can easily become scuffed or nicked during everyday activities. Before you begin your project, carefully inspect the surface of the baseboards for any areas that require patching, and apply compound according to the package directions. Once it has dried, give the patched areas a light sanding to create a smooth surface, and finally, use the upholstery attachment on your vacuum cleaner to clean along the surface and perimeter of the baseboards. Follow these tips for the best way to paint baseboard and other trim around your home:
- Lay down a drop cloth, plastic sheeting, or other material to protect hard flooring or carpeting from spills and drips and run a line of tape where the baseboard and the flooring meet to hold in place.
- Keep a damp cloth nearby to immediately clean up any messes.
- Using a high-quality, angled paintbrush, begin by loading the brush with paint approximately two-thirds of the way up the brush, and dab against the container to remove any excess.
- Apply the paint to the baseboards in long strokes, working in small sections, and avoiding going back and forth over the same area.
- Allow the first coat to dry thoroughly before determining if a second one is needed.
How to Paint Trim Without Tape
Painter's tape can help you achieve clean lines, but it can be tricky to apply and even trickier to remove. To successfully paint trim without tape, load your angled brush with paint and rest it near, but not touching, the edge of your trim. Apply gentle pressure to push the paint as close to the edge as possible without going over and glide the brush along the surface. Pull it in a perpendicular motion away from the edge to finish the stroke, reload the brush, and continue.
Fix Your Mistakes
If the unexpected should happen and some of the wall color winds up on your trim, don't panic. If a quick dab or wipe with a damp cloth doesn't resolve the situation, allow the paint to dry thoroughly. Lightly sand the affected area and remove the dust with a cloth or vacuum. Touch up with your trim color and enjoy!
For truly professional results, trust the experts at Five Star Painting for a flawless finish on all your walls and trim. Once you've chosen which room to paint our team will take care of the rest, providing satisfaction with the finished product by using high-quality materials, and time-honored methods. Contact Five Star Painting today for a free in-home estimate for professional, top-quality interior and exterior painting services.