Five Star Painting explains how to paint an ombre wall for a stylish gradient effect.
|
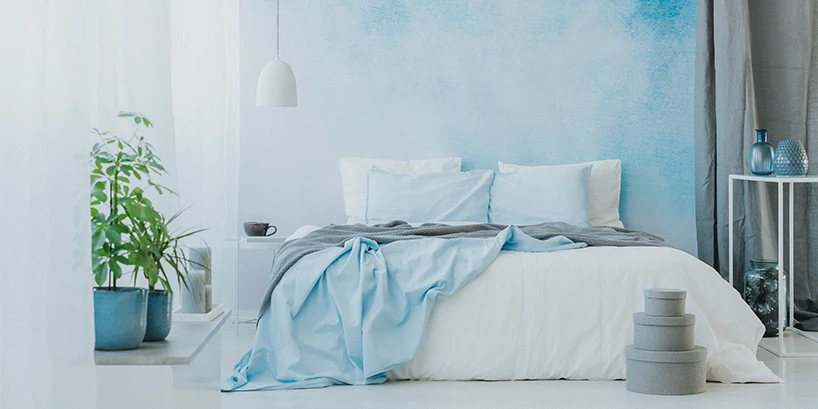
Ombre is defined as the gradual blending of hues from light to dark, and it is reminiscent of the beauty found in nature, from jaw-dropping sunsets to centuries-old rock formations. Today, this highly desirable color treatment is used in hair coloring, clothing design, home decor, and more. You can transform the look of any room in your home using the ombre painting technique outlined below, courtesy of the dedicated team at Five Star Painting.
How to Paint an Ombre Wall
Whether you are looking for a way to enhance a children's playroom or you want to create a stunning feature wall in your bedroom, living room, or dining room, we can help, with our comprehensive step-by-step guide to painting an ombre wall:
Materials
- Measuring tape
- Painters tape
- Pencil
- Clean paint stick for mixing
- Dropcloths
- Three paint rollers
- Three paint trays
- Two colors of oil-based paint (latex paint dries too quickly, making blending difficult)
- Three paintbrushes, medium and large
- Disposable cup for measuring
- Ladder
- Disposable bucket for mixing paint
Preparation
1. Choose your colors. Determine if you want to paint with complementary or contrasting shades of color. If you decide to work with a single color, select two or more shades from the graduated paint strip. For a more subdued effect opt for colors that are adjacent to each other, moving further apart on the palette for a more dramatic appearance.
2. Prepare the surface. As with any painting project, ensure the surface of the wall is clean and any holes or irregularities have been patched and sanded. Apply a coat of primer as needed.
3. Pick a direction. Decide if you want to work vertically or horizontally across the wall. If you are working horizontally you will also need to choose whether to place the lighter section at the top or the bottom.
4. Section off the wall. Measure the wall and divide it into three or more equal sections using painter's tape. The number of sections you choose will determine how gradual the ombre effect will be.
5. Pour the paint. Line up your paint trays, and pour the lightest color into one, the darkest into another, and a 50/50 blend of the two into the third tray. Use a disposable measuring cup and bucket to measure out and mix equal parts of the paint and stir well.
Painting Instructions
If your color scheme is to be painted horizontally, begin by painting the lower section of the wall with either the darkest or lightest shade, or in the case of a vertical scheme, begin on either the left or right side.
Next, paint the uppermost section of the wall or the opposite side.
Finally, paint the middle section with the 50/50 mix of the two main colors.
Carefully remove the tape, and use a clean, dry paintbrush to blend the area between the lower and middle section, using broad strokes in an "X" formation. When you are satisfied with the results take a second clean, dry paintbrush and use it to blend the area between the uppermost and middle sections.
Additional Tips
- Work quickly, as paint blends much easier when wet.
- If your blending brush becomes saturated with paint, replace it with a clean, dry brush.
- Leave an inch of unpainted space on either side of the painter's tape for a more gradual, seamless appearance in the blended area.
Hire the experts at Five Star Painting for all your interior and exterior painting needs, whether you need help covering up a difficult wall color or want to add some visual interest with an ombre wall. Contact Five Star Painting to learn more!