Five Star Painting explains how to paint a popcorn ceiling for a fresh, updated look.
|
When freshening up the interior of your home or office with a fresh coat of paint, it can be tempting to skip over cringe-worthy popcorn ceilings. Instead of removing the texture, which can be a tedious job (to say the least), painting popcorn ceilings with a fresh coat of neutral paint can help them blend into the background, putting your new wall color center stage.
How to Paint a Popcorn Ceiling
Refreshing popcorn or acoustical ceilings isn’t rocket science. In fact, it’s pretty simple – and cheap. It just takes a bit of inside information to avoid potential pitfalls. Luckily, your friends at Five Star Painting have you covered with this easy, step-by-step guide to repainting popcorn ceilings:
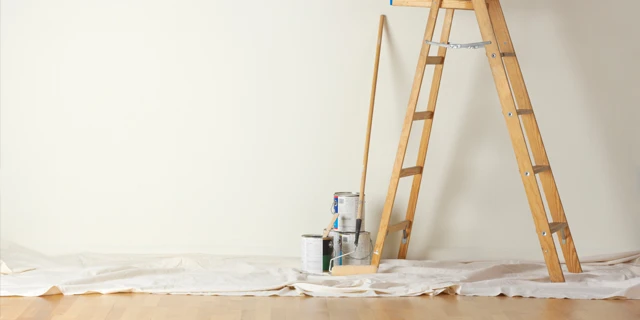
- Prep the room.
If you’ve never painted a ceiling before, anything below it is fair game for spatters. Cover anything exposed with drop cloths, masking off walls if need be. Also be sure to tape/mask off fixtures and fans, which can also become a target for spatters. - Prep yourself.
Like the surrounding environment, you can (and will) be splattered with paint if you don’t cover up. Wear coveralls (or old clothes), safety goggles, a dust mask, and hat or other hair covering when painting popcorn ceilings. If you’re vertically challenged (of short stature), grabbing a step ladder is also a good idea. - Dust the ceiling.
Popcorn ceilings are known dust magnets. Remove dust from the ceiling using a feather duster, microfiber duster, or vacuum with a soft bristled dusting brush. (Note: Don’t skip this step, or you’ll end up with dust and debris speckling your paint!) - Consider the source of stains.
Keep your eyes on your ceilings in every room of the house! If you see signs of discoloration, investigate immediately to avoid costly water damage. Learn more from our friends at Rainbow International: What Water Damaged Ceiling Tiles Are Trying to Tell You. - Grab your paint.
Textured surfaces require more paint than flat surfaces for full coverage, so plan to purchase twice as much. - Cut in the ceiling edge.
Using an angled brush, cut in the perimeter. Load the brush with ample paint, but use a light touch and avoid overworking the area. If the popcorn gets too wet, it will peel off. A second coat after paint dries is safer if you need additional coverage. - Paint the ceiling.
Use a segmented foam roller when painting textured surfaces. These will often be marked specifically for painting popcorn ceilings, and feature a long nap. This will ensure you get sufficient paint without needing to continuously reload your roller. Dip your roller into a roller pan, or if you want to go pro, use a 5-gallon bucket with a screen or grid for faster application. As with painting the perimeter, make just one pass, painting in a single direction only (not back-and-forth) to avoid popcorn peeling. - Apply the second coat.
Wait for paint to dry per manufacturer’s instruction, then apply a second coat if necessary. Apply this perpendicular to the first coat to ensure uniform coverage.
Make the Exterior of Your Home or Office Match the Newly Painted Interior
Get an immediate curb appeal boost with our Ultimate Guide to Painting Stucco.
Don’t let a popcorn ceiling repaint blowup in your face. Get the help you need with the experienced and affordable help of Five Star Painting today.